
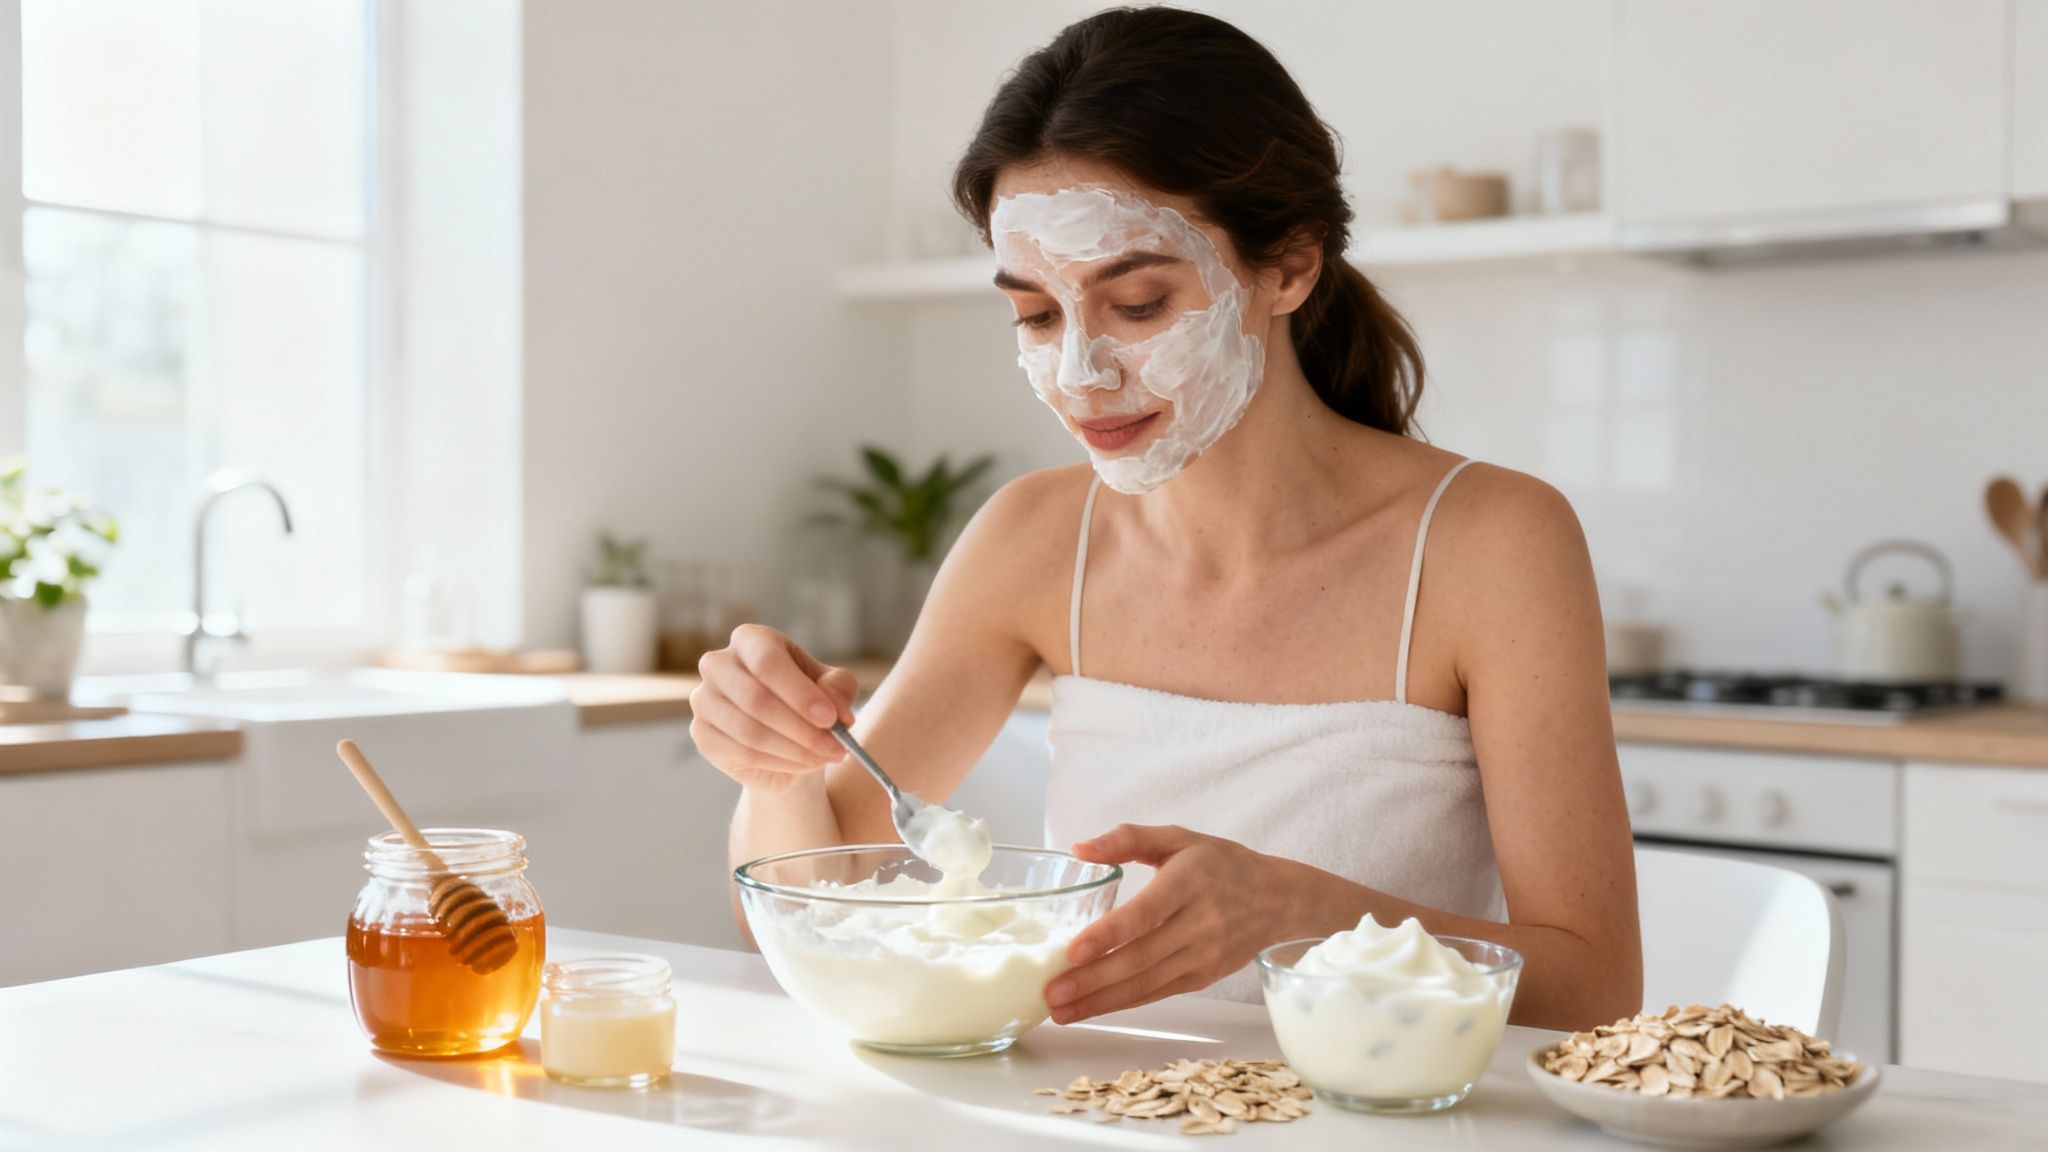
Making a face mask at home is the best way to treat yourself to a customized, effective, and completely natural beauty treatment. Often, the best ingredients are already in the pantry or refrigerator, ready to be transformed into a little treat for our skin. This approach gives you complete control over what you apply to your face, allowing you to avoid chemical additives and respond precisely to your skin's needs at that moment.
The benefits of a homemade face mask
Choosing DIY skincare isn't just a passing fad, but a decision that combines well-being and respect for the environment. It's a ritual that reconnects us with the simplicity of pure and powerful ingredients, transforming our skincare routine into a truly personal moment.
The benefits go far beyond simple economic savings, which in any case is by no means negligible.
- You know what you're putting on your skin : Forget endless labels full of confusing names. With a homemade mask, you use only fresh, familiar ingredients, without preservatives or synthetic fragrances that often cause irritation.
- Customize it to your liking : Our skin isn't always the same. It changes with the seasons, stress, and diet. A DIY mask lets you adapt the recipe on the fly: you can add a soothing ingredient if you feel red, or something purifying if you notice any blemishes.
- Natural effectiveness : Many of the ingredients we use in cooking, such as honey, oats, or yogurt, have extraordinary properties. They are hydrating, antibacterial, and gentle exfoliants, with proven effectiveness that offers visible results without stripping the skin.
- A sustainable choice : Fewer packaged products means less plastic and less waste. It's a small gesture that, added to many others, helps reduce our environmental impact.
An increasingly popular beauty ritual
This rediscovery of natural skincare isn't just a feeling, it's a fact. An analysis of the Italian cosmetics market revealed that approximately 45% of consumers have tried making a face mask at home at least once in the past year. The same study shows that 62% consider it a weekly staple, driven by the average 30% savings and the freedom to choose the ingredients. If you're interested, you can learn more about these beauty trends to better understand the phenomenon.
Simply put, creating your own face mask isn't just a money-saving trick. It's a true act of love for your skin, a way to ensure it receives a fresh, powerful treatment tailored to its unique needs.
The essential ingredients from your pantry
The magic of a DIY face mask lies right there, in your pantry. You don't have to hunt for exotic ingredients or spend a fortune; your kitchen is already a small beauty laboratory, full of powerful allies for your skin. The secret is knowing them and knowing how to use them.
Understanding what each individual ingredient does allows you to create a treatment that's not just "natural," but truly tailored to your skin's needs at that precise moment. Sometimes it needs hydration, sometimes it needs cleansing, sometimes it needs a soothing pampering.
The protagonists of natural skincare
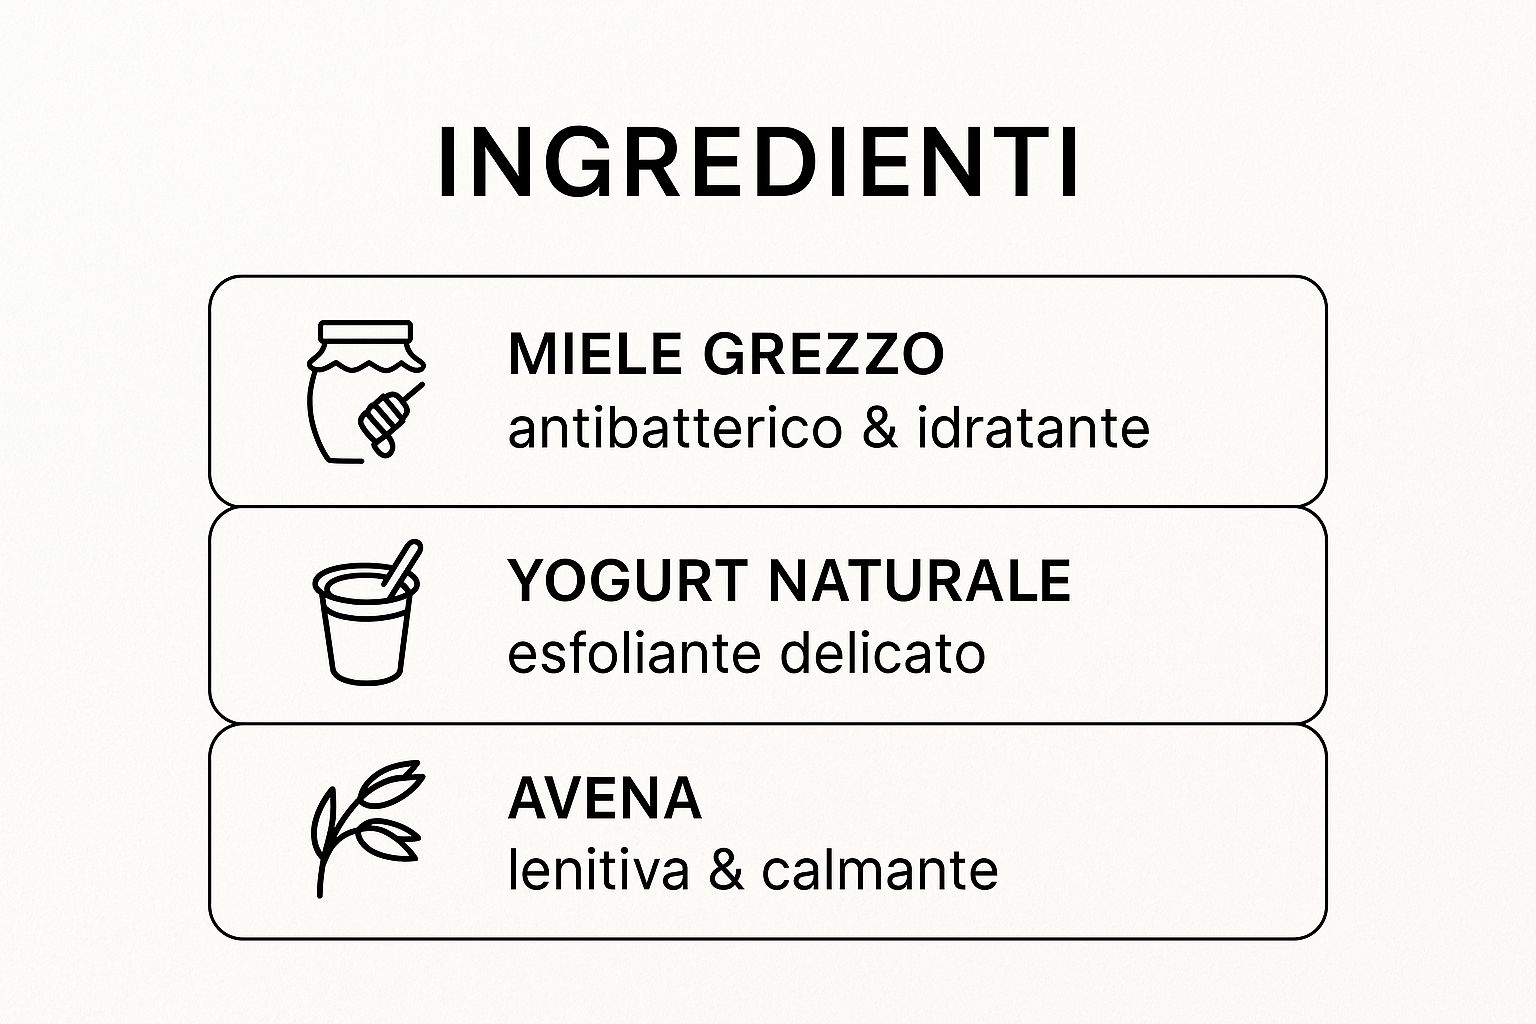
Take honey , for example. It's much more than a sweetener. Its antibacterial properties make it a fantastic ally against blemishes, helping keep pimple-causing bacteria at bay. Plus, it's a natural humectant: it attracts and retains water, providing skin with deep hydration that's instantly noticeable.
Then there's plain yogurt —the sugar-free kind, mind you. It's a little treasure packed with lactic acid, an alpha-hydroxy acid (AHA), which performs a very gentle yet effective exfoliation. It removes dead surface cells and reveals a fresher, more radiant complexion.
And what about oats ? Well, they're the best friend of sensitive and irritated skin. Their soothing and anti-inflammatory properties are a time-honored remedy that's worked for centuries. If your skin tends to get red or itchy, an oat mask will provide instant relief, leaving it soft and calm.
This infographic quickly summarizes the superpowers of these three ingredients.
Keeping these key concepts in mind will help you choose the right ingredient at the right time, without having to think too much.
Quick guide to the ingredients for your mask
Choosing the right ingredient is everything. I've prepared a simple table to help you quickly decide what to use based on your skin type and the result you want to achieve.
| Ingredient | Ideal Skin Type | Main Benefit |
|---|---|---|
| Raw Honey | All types, especially combination or acne-prone | Antibacterial, hydrating, brightening |
| Plain Yogurt | Dull, oily or combination skin | Gentle, smoothing, purifying exfoliant |
| Oats (flour) | Sensitive, dry, irritated skin | Soothing, calming, anti-redness |
| Olive oil | Very dry and mature skin | Deep nourishing, emollient, antioxidant |
| Avocado Pulp | Dry, dehydrated, dull skin | Intensely hydrating, nourishing, elasticizing |
This is a very useful shortcut to avoid mistakes and to experiment with new combinations with confidence.
A tip from someone who's been there: when using honey, always look for raw, unpasteurized honey. It's a small extra effort that makes a huge difference, because raw honey retains all the enzymes and antibacterial properties that industrial heat often destroys.
Understanding how hydration works is the foundation of everything, and these ingredients are an excellent starting point. If you'd like to delve deeper, our guide on how to hydrate your face will give you plenty of other ideas for building a comprehensive and effective routine. Always remember that well-hydrated skin responds better to any treatment.
Tailor-made recipes for every skin type
Now that we've seen which ingredients to use, it's time to get to work. I've developed three recipes that I've personally tested and retested, each designed to address a specific need. They're simple yet incredibly effective formulas, perfect as a starting point.
Consider them a solid foundation. The beauty of DIY, after all, is the freedom to experiment and adapt the recipes to your skin's needs, which change with the seasons or the passage of time.
Purifying mask: for oily and blemish-prone skin
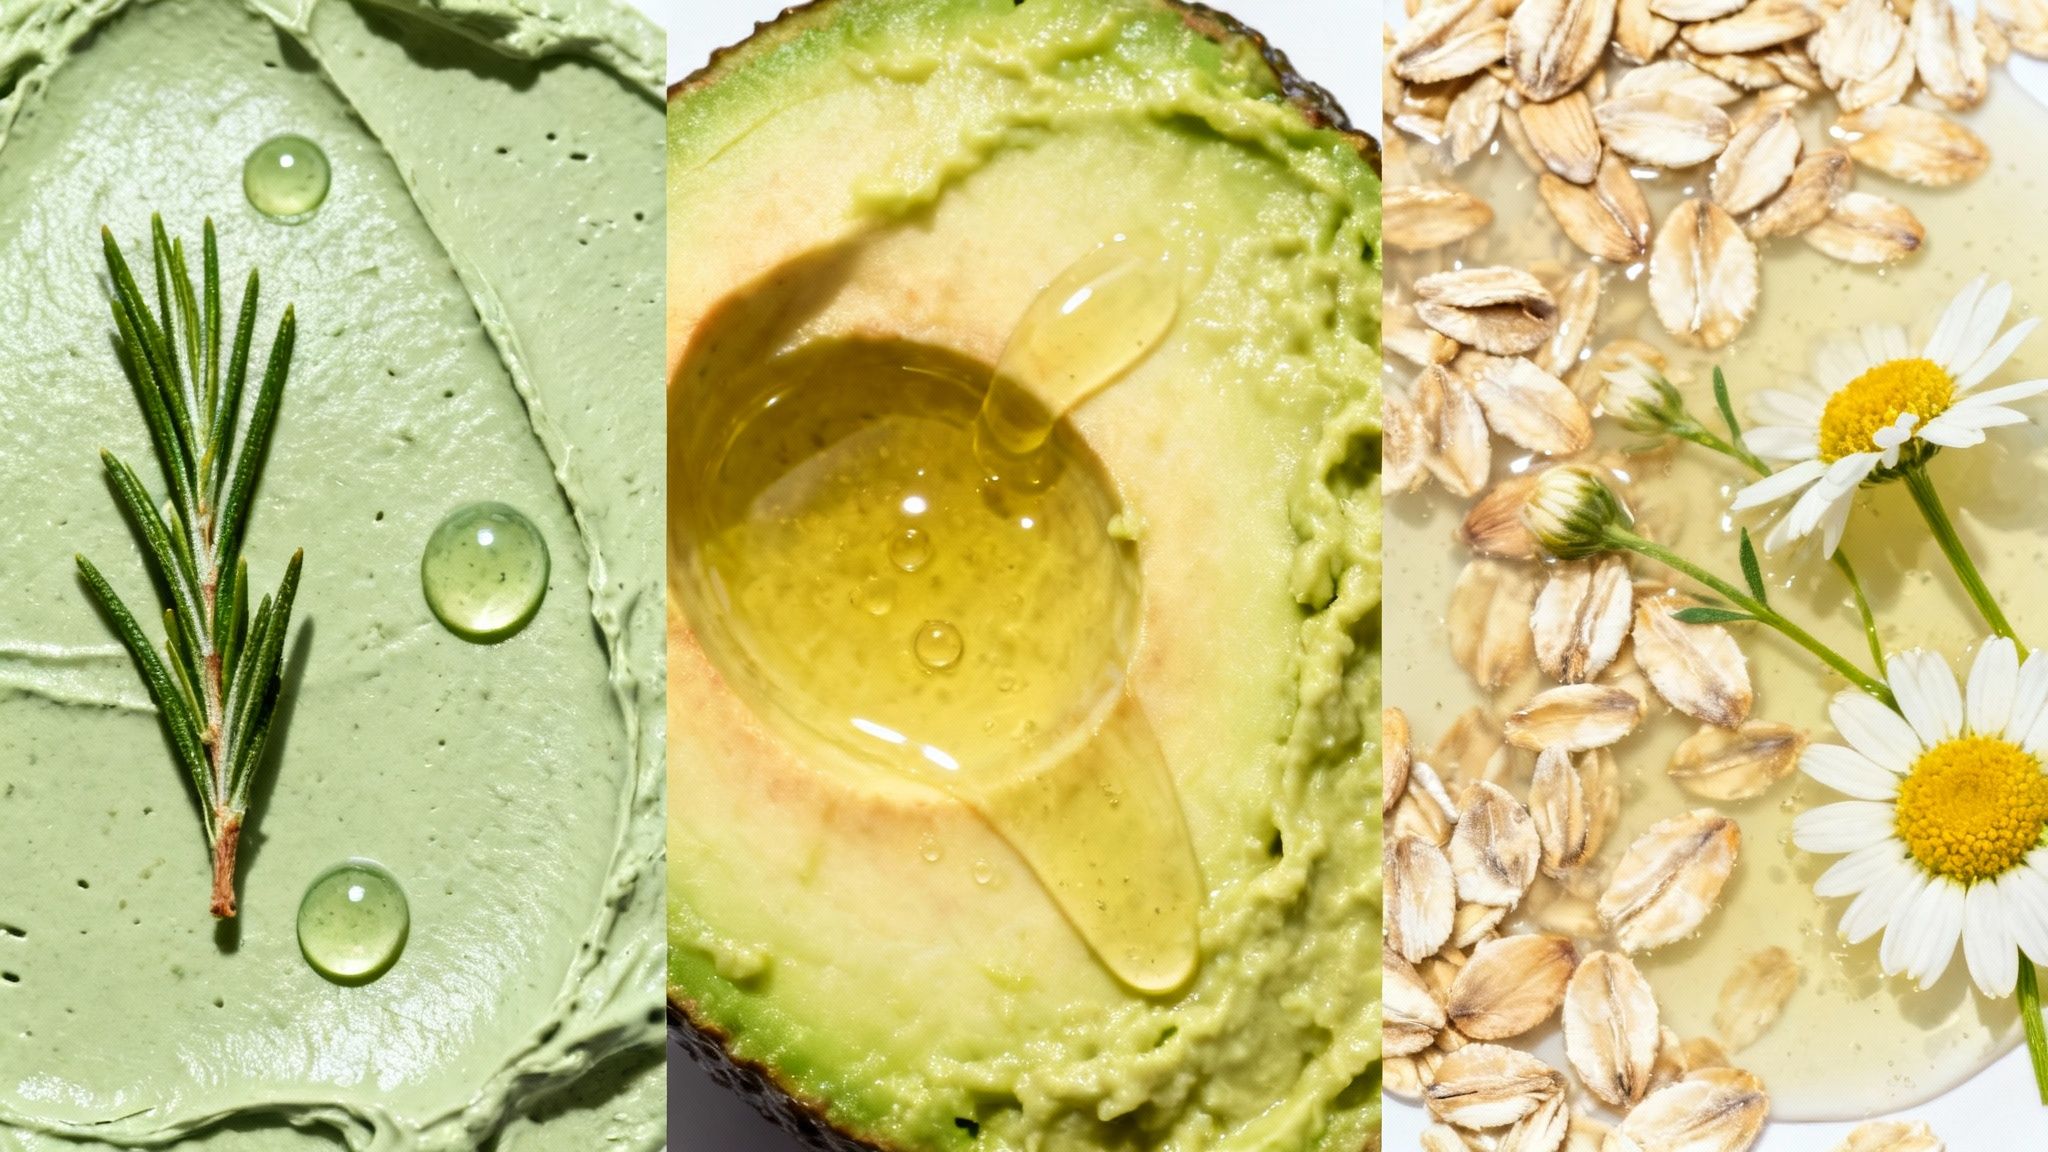
If your skin tends to get shiny, especially in the T-zone, or if you frequently struggle with enlarged pores and small pimples, this mask will become your best friend. It harnesses the power of green clay to absorb excess sebum and the purifying action of tea tree oil.
What you need:
- 2 teaspoons of ventilated green clay
- 3-4 tablespoons of water (or, even better, rosemary hydrolate)
- 2 drops of tea tree essential oil
In a small ceramic or glass bowl (never metal, as it alters the clay's properties!), pour the clay and gradually add the water. Stir with a wooden spoon until you obtain a creamy, lump-free paste. Finally, add the drops of tea tree oil and give it a final stir.
Apply it to a clean face, carefully avoiding the eye and lip area. It should be left on for about 10 minutes , but the key is not to let it dry completely. When you notice the edges starting to lighten, it's time to rinse with warm water. Use it once a week and you'll see the difference.
Expert tip: If you have combination skin, you don't have to apply the same mask everywhere. Try multi-masking : apply this purifying mask only to your forehead, nose, and chin, and use a hydrating formula on the rest of your face. It's the best way to give each area exactly what it needs.
Nourishing mask: for dry, tight skin
When your skin looks dull, dehydrated, and feels that annoying tightness, it needs extra nourishment. This mask is a real treat, a concentrate of healthy fats and vitamins that will instantly leave your skin softer, more supple, and radiant.
What you need:
- Half a nice ripe avocado
- 1 teaspoon sweet almond oil (alternatively, a good olive oil is also fine)
- 1 teaspoon raw honey
Take the avocado pulp and mash it well with a fork until it becomes creamy. Then, add the oil and honey and mix everything thoroughly. You'll get a rich, velvety mixture.
Apply a generous layer to your face and neck, then sit back and relax for 15-20 minutes . The avocado will deeply nourish your skin, while the honey and oil will help seal in moisture. To remove, use a sponge dampened with warm water, using gentle, circular motions.
Soothing mask: for sensitive and reddened skin
Sensitive skin is demanding: it reddens at the slightest temperature change and can't tolerate harsh products. This recipe is designed specifically for it, to soothe irritation and provide immediate relief thanks to the incredible properties of oats and chamomile.
What you need:
- 2 tablespoons of oat flour (you can obtain it by finely blending the classic flakes)
- 3-4 tablespoons of cooled chamomile tea
- 1 teaspoon of natural plain yogurt (unsweetened!)
First, prepare a chamomile tea and let it cool completely. In a bowl, mix the oatmeal with the yogurt, then begin adding the tea a little at a time, until you create a soft, easily spreadable paste.
Apply it to your face and leave it on for 15 minutes . You'll immediately feel a pleasant sensation of freshness. The oats create a protective film, while the chamomile and yogurt work together to reduce redness. Rinse with plenty of cool water and pat your skin dry with a soft towel, without rubbing. It's so gentle on your skin that you can indulge in it even a couple of times a week, whenever you feel the need for a break.
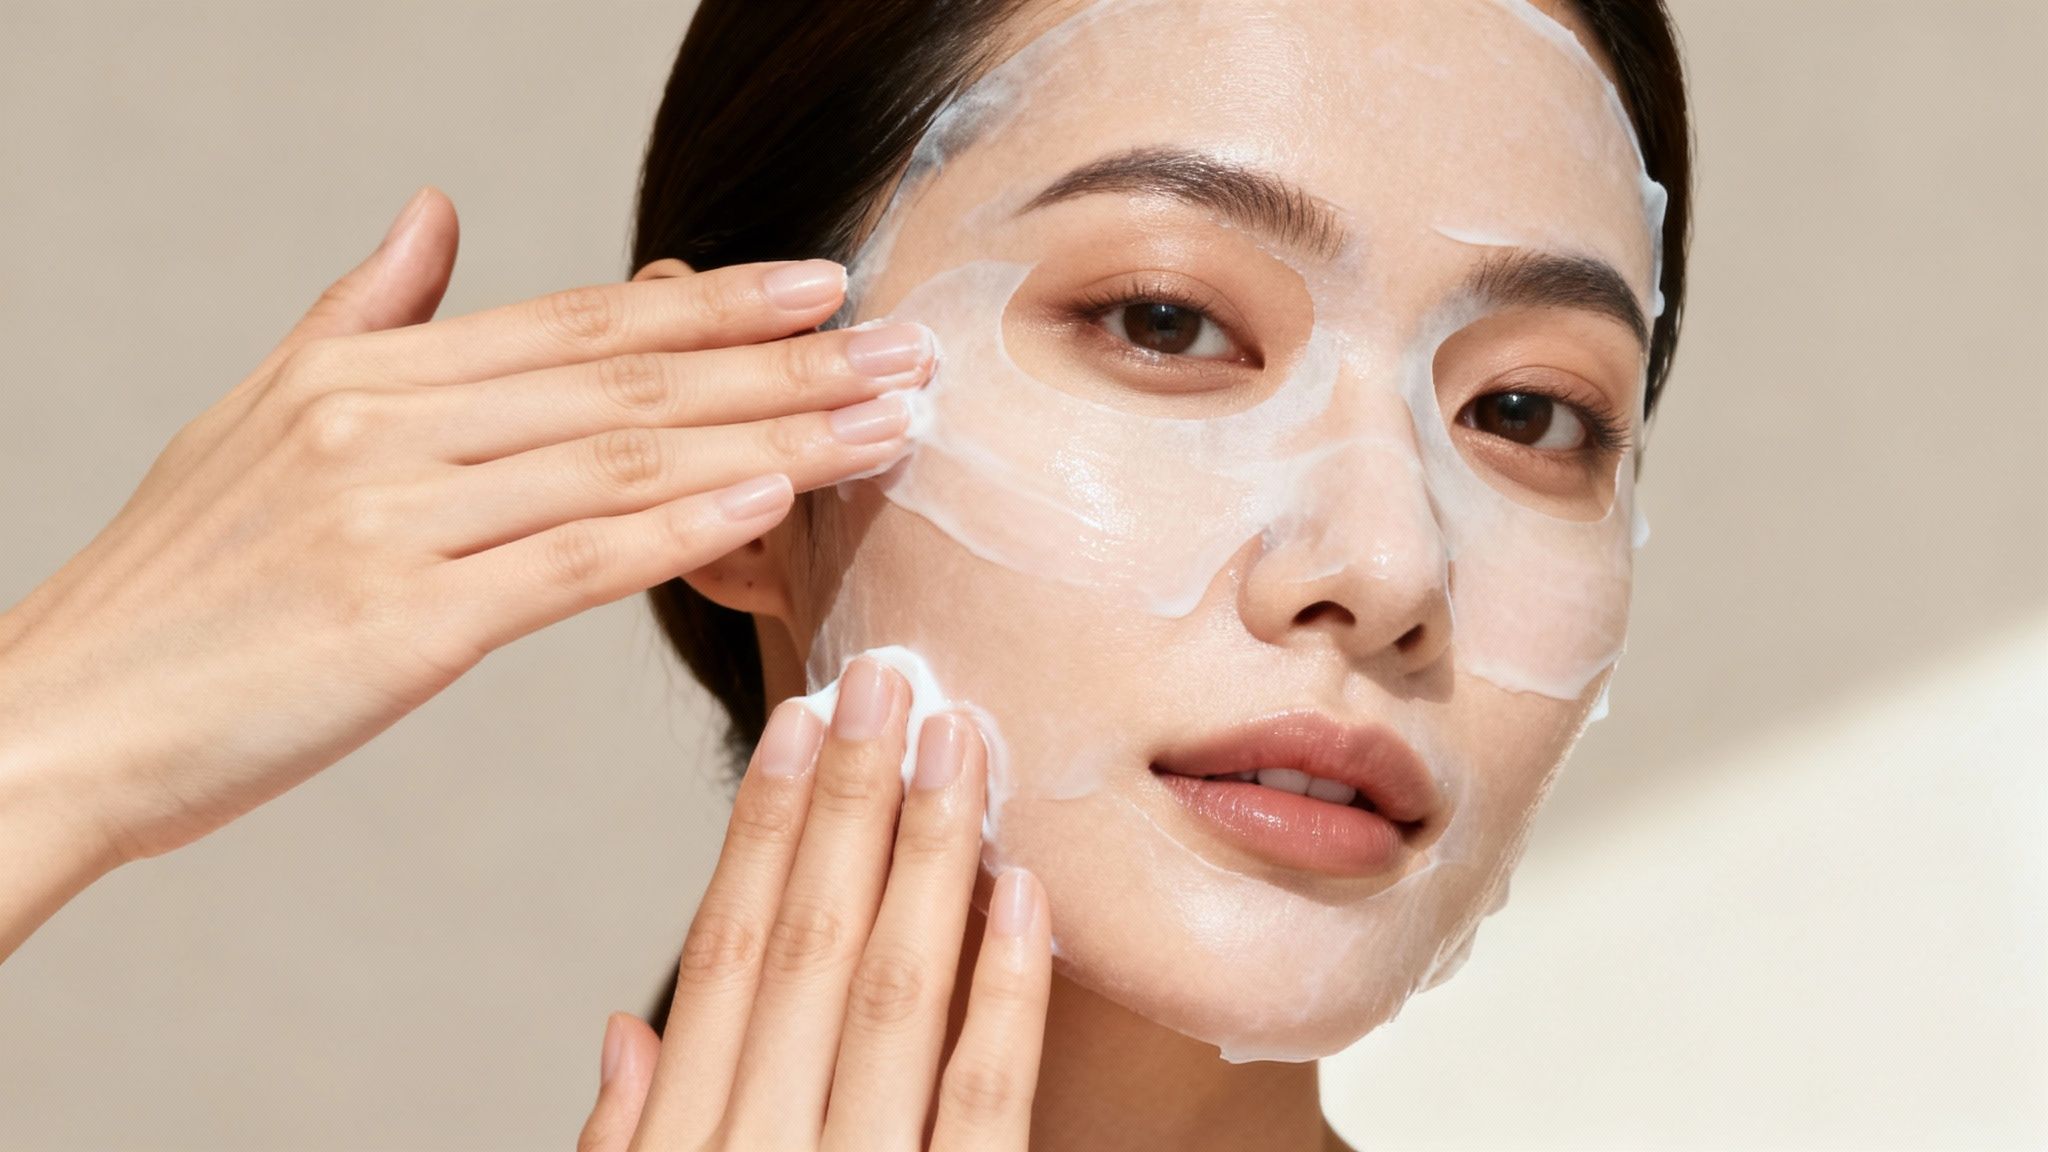
Application and removal for best results
Having the perfect recipe for your DIY face mask is only half the battle. The real secret to turning a good treatment into an extraordinary ritual lies in the "how": how you prepare your skin, how you apply the mixture, and, above all, how you finish your beauty session.
Correct application isn't just a detail, but the key to allowing natural ingredients to unleash their full effectiveness. Skipping these steps essentially wastes time and precious active ingredients.
Prepare the skin for treatment
The first, crucial step is to work on a clean base. Never apply a mask to a face that's made up or dirty—that's a rookie mistake. You'll only end up creating a barrier that prevents nutrients from penetrating deeply.
Always start with a thorough yet gentle cleansing, using your usual cleanser to remove sebum, makeup, and impurities. If you want to go a step further for a truly professional result, you can rely on specialized tools. For example, an ultrasonic scrubber can help effectively cleanse pores, leaving skin primed to receive the most from the treatment.
A little trick of the trade to boost absorption? Steam your face for a couple of minutes. Simply place a warm, damp towel on top: the heat will gently dilate your pores, making them much more receptive.
Practical tip: Never use boiling water for steaming or cleansing. Excessive heat stresses the skin and can cause redness, achieving the exact opposite of what you're looking for.
The ideal exposure time
Once you've applied the mask evenly, always avoiding the eye and lip area, comes the crucial moment: the wait. This is where many make the mistake of thinking, "The longer I keep it on, the better it will work." Nothing could be more wrong.
Every mask has its own optimal application time. Exceeding this time can actually dry out the skin, especially if it contains clay, which "drains" moisture. Therefore, respecting the application time is essential.
- Purifying masks (e.g., clay masks) : Maximum 10 minutes . The secret is to remove them before they dry completely on the skin.
- Hydrating and nourishing masks (e.g. with avocado or yogurt) : 15 to 20 minutes is the perfect time for complete absorption.
- Soothing masks (e.g. with oats) : Again, 15 minutes is more than enough to calm redness and irritation.
Interestingly, most people have already figured out this rule. About 70% of Italian users leave their masks on for exactly 10 to 20 minutes, the perfect interval to maximize the benefits without risking problems.
Mask removal and aftercare
When the timer goes off, it's time to remove everything. The key is gentleness. Dampen a natural sponge or a soft microfiber cloth with warm water and wipe your face using light, circular motions.
After removing any residue, pat your face dry with a clean towel, without rubbing. And now, the finishing touch: always finish your routine by applying a toner to rebalance your skin's pH, followed immediately by your favorite moisturizer. This final step is essential for sealing in all the benefits, keeping your skin soft and protected for a long time.
Common mistakes to avoid
Making your own face mask is a small luxury, a moment of relaxation that's good for your skin and mood. However, to turn this ritual into a truly effective treatment, you need to be aware of a few easy pitfalls. Knowing them is the first step to getting the most out of your ingredients.
The first mistake, perhaps the most common, is improvising with ingredients. Not everything you have in the fridge is suitable for your face. For example, pure lemon juice, often cited in "miracle" recipes, is actually too harsh: its acidity can irritate the skin and, worse, make it photosensitive, with the risk of sunspots. The golden rule is simple: use only ingredients whose properties you know and that are suitable for your skin type.
Another pitfall is overdosing. Fresh masks are wonderful precisely because they contain no preservatives, but this also means they spoil quickly. Preparing a whole bowl expecting to preserve it is almost certainly a waste. It's much better to prepare the right amount for a single application, so you always use the freshest ingredients.
Safety first
Natural doesn't automatically mean harmless. Just like with foods, unexpected allergic reactions can also occur on the skin. That's why there's one step you should never, ever, skip.
Patch testing is your best friend: before smearing a new compound all over your face, apply a small amount to an inconspicuous area, like the crook of your elbow or behind your ear. Wait 24 hours. If you don't notice any redness, itching, or discomfort, then you're good to go.
It's a simple process that only takes a minute, but it saves you a lot of potential hassle and lets you experiment with your recipes with peace of mind.
Frequency and seasonality: listen to your skin
Enthusiasm can sometimes lead to overdoing it. Applying a mask every day, even a gentle one, risks altering the delicate balance of the skin's hydrolipidic film. The key is finding the right frequency, which varies based on the recipe, your skin type, and even the season.
Did you know that about 60% of people use masks more often in the colder months for a nourishing and protective effect? In spring and summer, however, the percentage drops to 35% , with a clear preference for lighter, more refreshing textures. To learn more about how the seasons change our habits, you can read this interesting article on skincare trends .
The most important thing is to listen to your skin's needs. A purifying clay mask once a week can be a blessing for oily skin, but it's definitely too much for dry skin. And if your problem is stubborn impurities, you might want to consider specific tools. For example, have you ever considered integrating a dedicated device into your routine? Find out if a blackhead vacuum works to determine if it's right for you.
Any questions? We answer the most common doubts.
We've reached the end of this little journey into the world of homemade face masks. I imagine you already have a few recipes in mind to try, but it's completely normal to still have some questions or concerns.
I've collected the questions I'm most frequently asked here, trying to give you simple and direct answers. The idea is to eliminate any uncertainty, so you can enjoy your moment of relaxation without worries.
Can I keep the mask I have left over?
This is the million-dollar question. The short answer is: better not. The beauty of homemade masks is that they're chock-full of fresh, living ingredients, and therefore free of preservatives . This also means they go bad in a flash.
The best thing to do is prepare only the amount you need on the spot. If you have any leftover product, store it immediately in an airtight container in the refrigerator and use it within 24 hours , no longer. Before applying it, however, trust your nose and eyes: if the color or smell has changed even slightly, don't risk it and throw it away.
A little secret : The real magic of these masks lies in their freshness. Using them freshly made ensures your skin receives maximum nutrients and active ingredients. Think of it like orange juice: would you drink it the next day?
How often can I apply a mask?
There's no one-size-fits-all answer. The right frequency depends on two key factors: your skin type and the ingredients in your chosen mask.
However, I can give you some general guidelines to help you get your bearings:
- Moisturizing and soothing masks (based on yogurt, honey, banana, etc.): these are the gentlest. You can easily indulge in them once or twice a week for an extra pampering experience.
- Purifying or exfoliating masks (with clay, lemon, or scrubs): these are more "strong." It's best not to overdo it: once every 7-10 days is more than enough, especially if you have sensitive skin, to avoid unnecessary stress.
The most important tip, however, is to learn to listen to your skin. Sometimes it will ask for more hydration, other times it will need a good cleanse. Be flexible.
Is a slight tingling sensation normal?
Yes, it can happen sometimes. A barely perceptible tingling sensation that disappears after a few moments can be normal. It usually happens with ingredients that have a mild natural acidity, like tomato, yogurt, or citrus fruits. It's simply a sign that the active ingredients are doing their job.
Be careful, though: there's a big difference between a tingling sensation and a real burning or itching. If you feel discomfort that doesn't go away or see your skin turning noticeably red, don't wait. Rinse everything off immediately with plenty of cool water. It simply means that that ingredient isn't for you. That's why I insist on always doing a small patch test on a hidden area of your skin before applying the mask to your entire face: it's a simple step that can save you a lot of trouble.
At Modern Essentials, we believe that personal care means combining the best of nature with the effectiveness of modern, well-formulated tools. If you're looking to enrich your beauty routine, take a look at our selection of skincare products. Visit our shop and discover your new allies for top-notch skin.
Article created using Outrank
